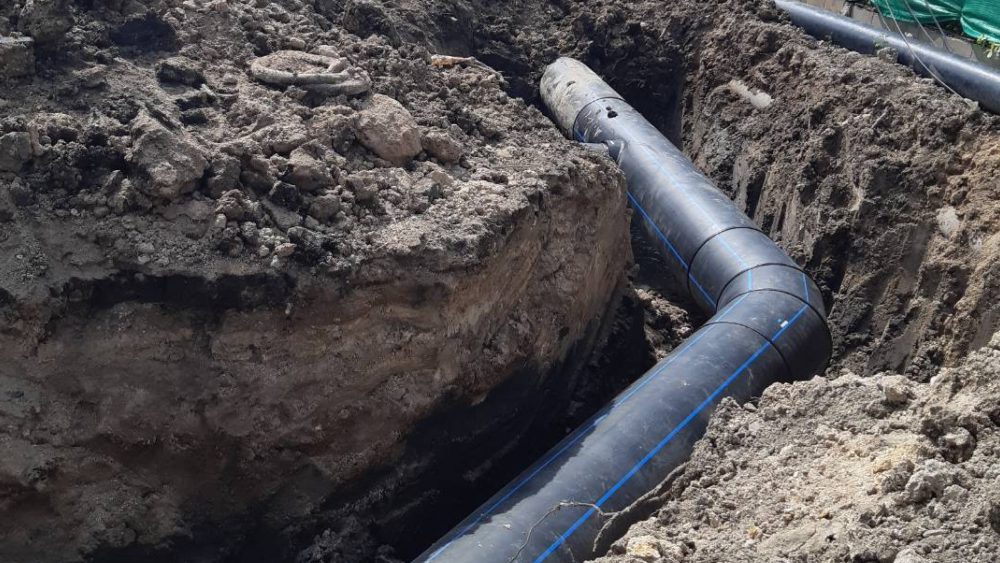
What is HDPE trench installation?
HDPE trench installation refers to the process of installing High-Density Polyethylene (HDPE) pipes within a trench for various applications, such as water supply, drainage, or conduit systems. HDPE pipes are known for their durability, flexibility, and resistance to corrosion, making them a popular choice for underground installations.
Trench installation is not only used for installing HDPE pipes, but also for repairing or modifying them as well. The depth of the trench is determined by the desired level or the level at which the HDPE pipes can be seen and fixed, which may depend on the type of area of the project.
The history of trench installation shows that this method has been used for a long time and has undergone continuous improvement and development and is still commonly used until today.
The process of HDPE trench installation
Planning and design: Determine the requirements of the project, including the pipe diameter, length, and route. Consider factors such as soil conditions, depth, slope, and any necessary permits.
Excavation: Dig a trench along the desired path and dimensions, ensuring it meets the required depth and slope specifications. The trench should provide enough space for pipe placement, backfilling, and compaction.
Bedding and leveling: Prepare the trench bottom by providing a stable and uniform bedding layer, typically consisting of granular material. The bedding helps distribute the load and support the pipe evenly. Use laser or string levels to achieve the required pipe alignment and slope.
Pipe placement: Carefully lower the HDPE pipes into the trench, making sure they align with the desired grade and alignment. Avoid dragging or dropping the pipes, as this can cause damage. If necessary, connect multiple pipe sections using approved fittings or welding techniques.
Joining and fittings: HDPE pipes can be joined together using different methods, including butt fusion, electrofusion, or mechanical couplings. Install any necessary fittings, such as bends, tees, or valves, as per the project requirements.
Backfilling: Once the pipes are in place and joints are secure, carefully backfill the trench with suitable material, usually a combination of native soil and granular material. Backfill in layers and compact each layer to avoid voids or settling.
Compaction and restoration: Use appropriate compaction equipment to compact the backfilled material, ensuring proper support and stability for the installed pipes. Restore the trench surface to its original condition, considering factors such as pavement, landscaping, or erosion control.
Testing and commissioning: Conduct pressure or leak tests on the installed HDPE pipeline to verify its integrity and performance. Follow industry standards and project specifications for testing procedures. Once the tests are successful, the pipeline can be commissioned for its intended use.
The advantage and disadvantage of trench pipe installation.
The advantage of using trench installation for installing HDPE pipes is suited to areas that do not have road or any development which will be a cheaper operating cost compared to the other trenchless method.
On the other hand, the disadvantage of trench installation for installing HDPE pipes is that it requires digging trenches along the pipeline and the soil excavated may need to be transported and can add up the cost. Furthermore, if the area has already been developed with roads, the restoration process will inevitably have additional costs.
It’s important to note that specific installation techniques may vary depending on project requirements, local regulations, and the recommendations provided by the HDPE pipe manufacturer. Therefore, it’s crucial to consult with professionals experienced in HDPE installation to ensure a successful and reliable trench installation.


Comments are closed.